Keycloak + Pomerium (OIDC)
Keycloak is an open-source identity and access management solution that supports the OpenID Connect (OIDC) specification. With Pomerium as your identity-aware proxy, you can authenticate and authorize requests to your applications while letting Keycloak handle user sign-in, tokens, and sessions.
This guide shows how to integrate a self-hosted Keycloak instance as your OIDC provider for Pomerium. The steps focus on Keycloak but apply to most generic OIDC providers.
Prerequisites
Docker Compose Configuration
Create a file named docker-compose.yaml:
services:
  mykeycloak:
    image: quay.io/keycloak/keycloak:22.0.1
    command:
      - start-dev
    environment:
      - KEYCLOAK_ADMIN=admin
      - KEYCLOAK_ADMIN_PASSWORD=admin
    ports:
      - 8080:8080
    networks:
      default:
        aliases:
          - keycloak.localhost.pomerium.io

  pomerium:
    image: pomerium/pomerium:latest
    volumes:
      - ./config.yaml:/pomerium/config.yaml:ro
    ports:
      - 443:443

  verify:
    image: pomerium/verify:latest
    environment:
      JWKS_ENDPOINT: https://pomerium/.well-known/pomerium/jwks.json
Run docker compose up. When Keycloak starts, visit http://localhost:8080 to open the Keycloak Admin Console.
Keycloak Setup
Sign in with admin / admin.
Create a Realm
- Select master (top-left) and Create Realm.
- Enter a name (for example,
Pomerium) and select Create.
Create a User
- Go to Users and Add users.
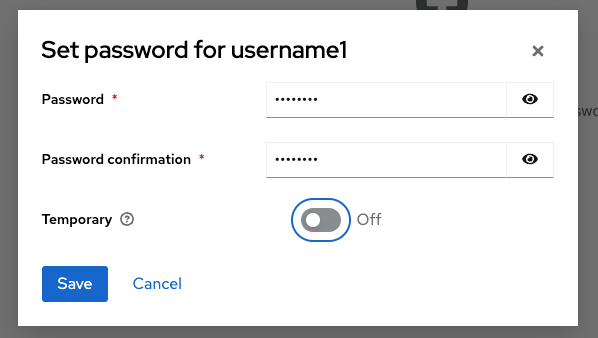
- Enter a username and Create.
- Select Credentials, then Set password and disable Temporary.
Create a Client
- Go to Clients > Create client.
- Client type: OpenID Connect.
- Client ID:
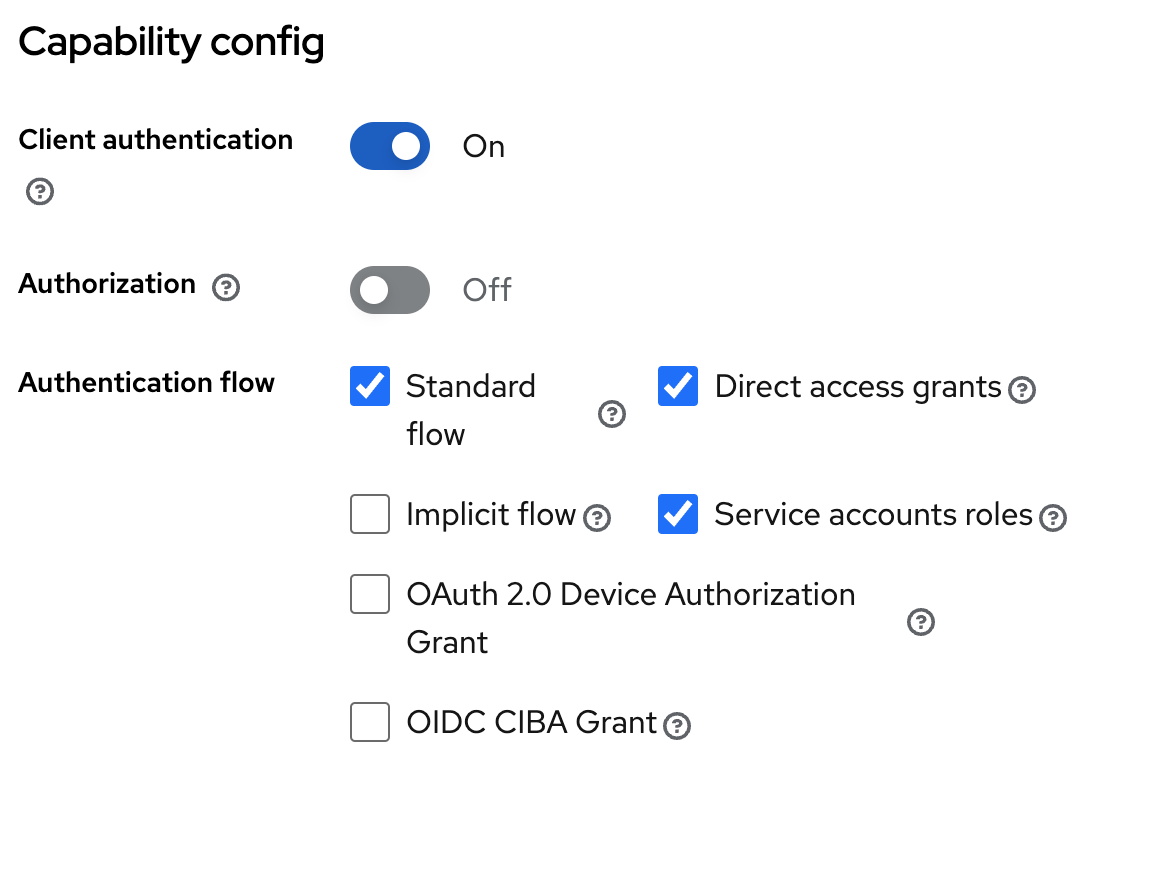
mynewclient. - Enable Standard flow and Direct access grants.
- Save.
In Access settings:
- Valid redirect URIs:
https://authenticate.localhost.pomerium.io/oauth2/callback - Web Origins:
https://authenticate.localhost.pomerium.io - Turn on Client authentication.
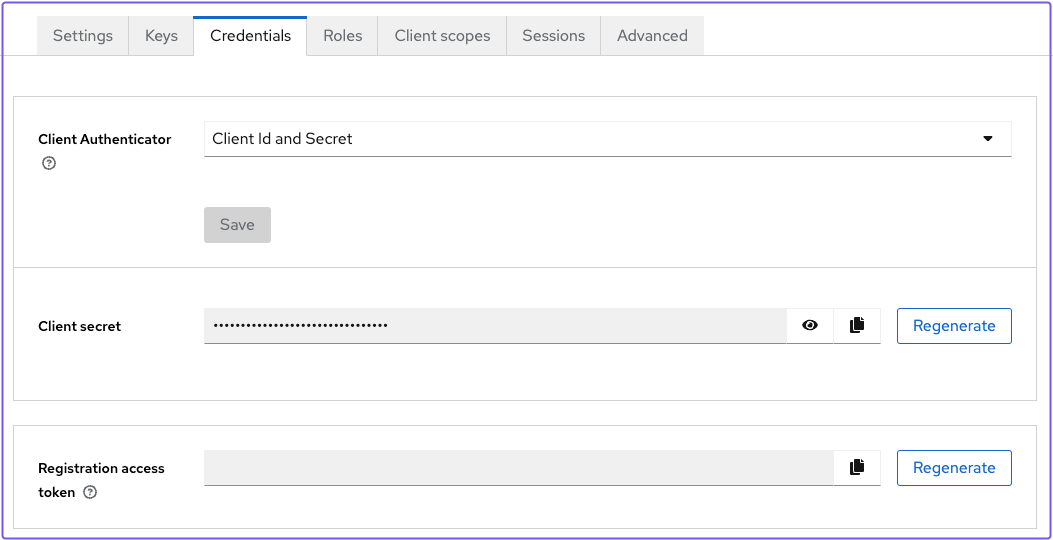
Save. Under Credentials, copy the Client secret:
Pomerium Configuration
Create config.yaml:
authenticate_service_url: https://authenticate.localhost.pomerium.io

idp_provider: oidc
idp_client_id: 'mynewclient'
idp_client_secret: 'your_client_secret' # Replace with the actual secret
idp_provider_url: 'http://keycloak.localhost.pomerium.io:8080/realms/Pomerium'

signing_key: LS0tLS1CRUdJTiBFQyBQUklWQVRFIEtFWS0tLS0tCk1IY0NBUUVFSVA2TUN5UFI5OUNmSEVkU0s4cVdzbk51Q0RyMVZ3ay93RER1RVhyQitELzZvQW9HQ0NxR1NNNDkKQXdFSG9VUURRZ0FFQ0JTK3gyQnJRNVJqNHJFcU5PSEVsUFVESXJiRlNhRitoWEhEL1RYby9rQWVKU1lJSjJHVwpZMnE0a0NPNTU4RmdoYmxDTUplYVdjV1luT3JuZkpxeXRnPT0KLS0tLS1FTkQgRUMgUFJJVkFURSBLRVktLS0tLQo=

routes:
  - from: https://verify.localhost.pomerium.io
    to: http://verify:8000
    allow_any_authenticated_user: true
    pass_identity_headers: true
signing_key in production. :::Test the Integration
Visit https://verify.localhost.pomerium.io.
If you notice a self-signed certificate warning, see Handle Self-Signed Certificate Warning to bypass it.
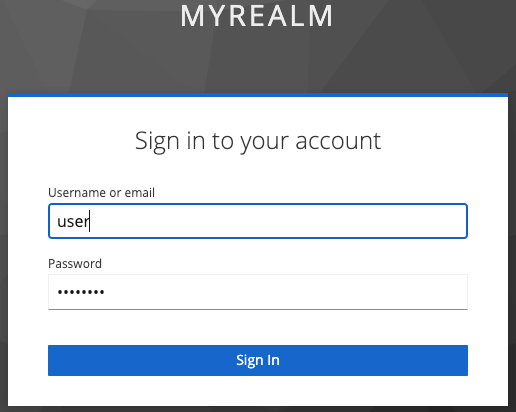
You'll be redirected to Keycloak to sign in, then back to the Verify service:
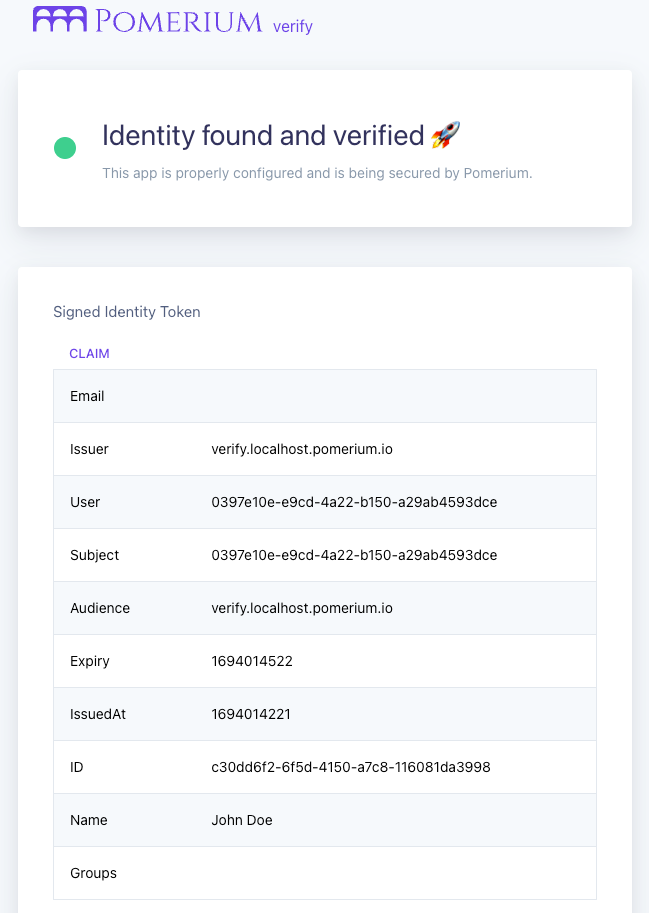
You can see user claims from Keycloak in the JWT payload, confirming that Pomerium has authenticated and authorized your request.
Directory Sync (Enterprise)
Setting Up Directory Sync
Configure Client Credentials
To allow the client credentials configured above to be used for directory sync, under Capability config, turn on "Service accounts roles".
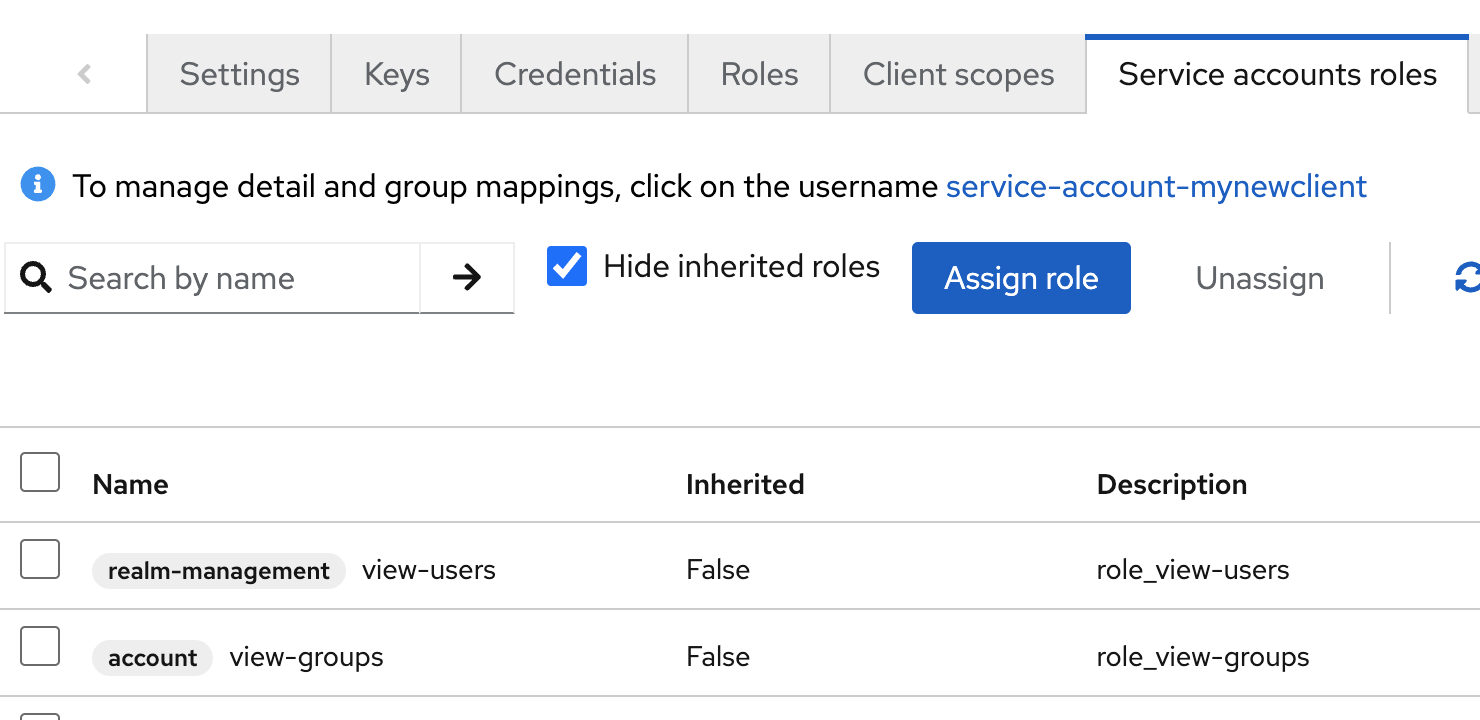
Then under the Service accounts roles tab, add the view-users and view-groups roles.
Configure Pomerium Enterprise Console
Under Settings → Identity Providers, select "Keycloak" as the identity provider and set the Client ID, Client Secret, Realm and URL.